Blush height changes your face more than contour ever will
Everyone is putting it in the same place, roughly two centimetres too low. Moving it up is the fastest change you can make to how your face reads.
 Danny Rose
Makeup artist · New York
Danny Rose
Makeup artist · New York
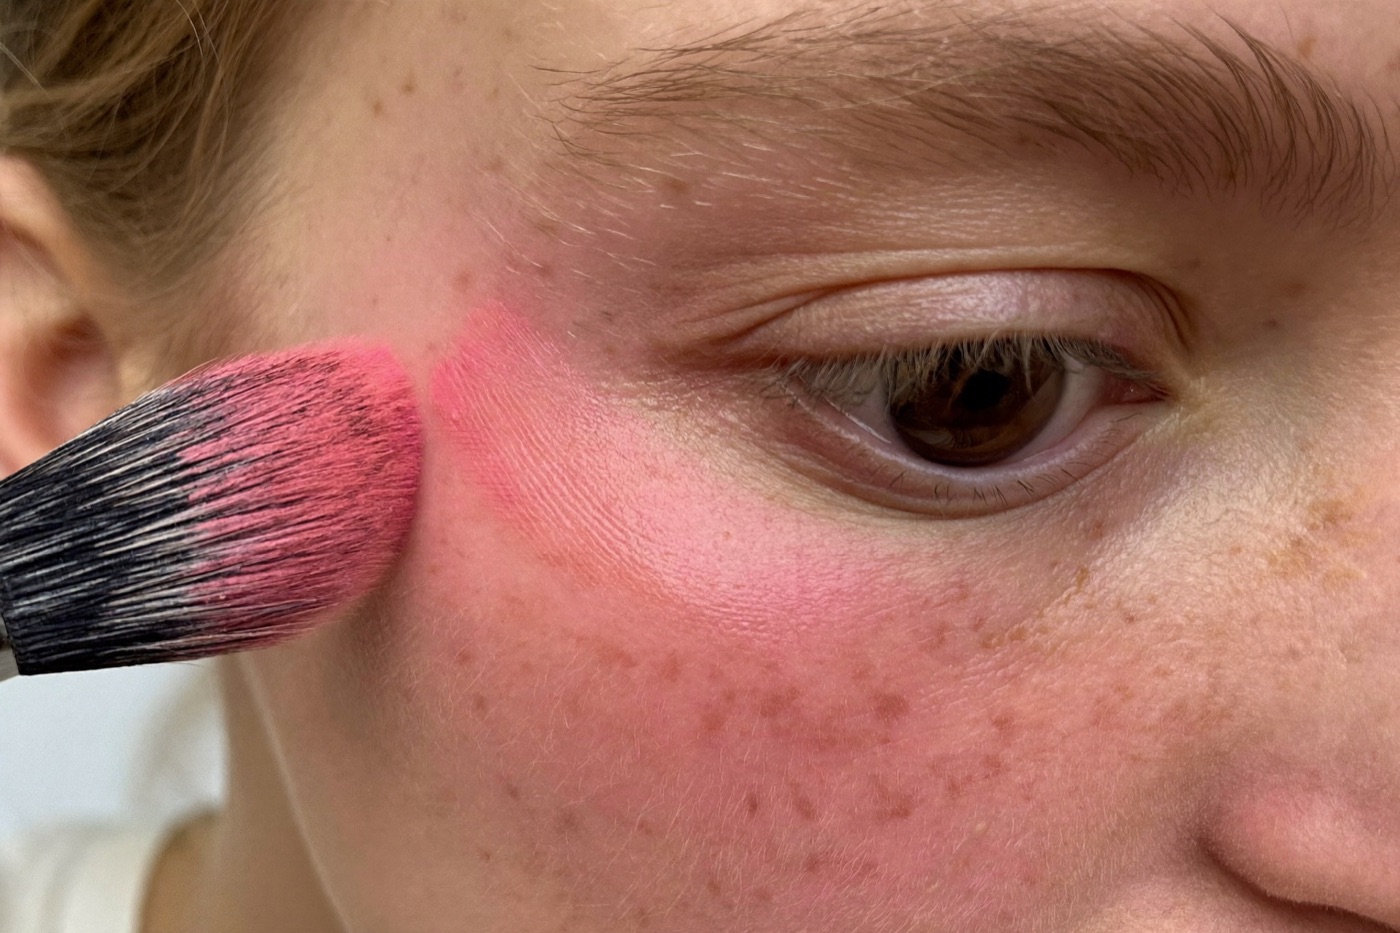
If I could change one thing about how most people do their makeup, it would not be their foundation, their brows, or the thing they are most self-conscious about. It would be where they put their blush.
It takes ten seconds, it costs nothing, and the difference is larger than anything contour will do for you. I say that as someone who owns a lot of contour.
The circle on the apple
Here is what almost everyone does. Smile, find the round bit of the cheek, put color there in a circle, blend outwards a little.
It is not madness — that is where you flush, so it looks like the natural answer. But two things go wrong with it.
The first is that a circle low on the face pulls everything downwards visually. Faces read as more awake and more lifted when the color and the light sit high. A round patch sitting on the fullest part of the cheek does the opposite: it adds weight exactly where you do not want to draw the eye.
The second is that the apple moves. It is only in that position while you are smiling. Stop smiling and the color drops with the muscle, which is why so many people look at themselves later and think the blush has "slid down". It has not moved at all. Your face has.
Where it goes instead
Find your cheekbone with two fingers — the actual bone, not the soft part below it. Start the color just above the point where you can feel that ridge, roughly in line with the outer corner of your eye. Take it up and outwards towards your temple, thinning as it goes.
The highest point of the color should be higher than you are comfortable with the first time. Nearly everyone stops too early.
Practically:
- Almost nothing on the brush. Two taps into the pan, then one firm tap on the back of your hand. You want the brush looking barely used.
- Start at the outer edge, near the temple, and sweep inwards and down. The heaviest deposit lands where you first touch the skin, so start it where you want the most color — which is not the middle of your face.
- Stop before the centre. As a general rule, keep it outside a vertical line dropped from the outer edge of your iris. Color closer to the nose than that reads as flushed rather than lifted.
- Build in three passes, not one. Three light passes always look better than one confident one, and you cannot take it off once it is on.
- Carry a whisper of it upward, onto the very top of the cheekbone and towards the hairline. This is the bit people skip, and it is the bit that ties the face together.
Contour tells people where your bones are. Blush tells people how you are feeling. One of those things matters more when you walk into a room.
Adjusting it for your own face
The rule above is the default. These are the sensible deviations.
Round faces. Higher and more angled, taking the sweep further toward the temple. Avoid anything circular, which will echo the shape you already have.
Long or narrow faces. Wider and flatter, more horizontal across the cheekbone. This adds width where the face is naturally narrow, and it is the one case where going too high looks strange.
Downturned outer eyes. Keep the end of the sweep lifting upwards toward the temple. It reads as a lift at the outer eye without touching the eye at all.
Mature skin. Higher, and cream rather than powder. Powder blush on a cheek with any texture will find the texture, every time. Cream sits in the skin instead of on it.
The other trick nobody uses
Once the cheeks are done, take whatever is left on the brush — and there will be almost nothing left, which is the point — and touch it to the bridge of your nose, the very edge of your chin, and the top of your forehead near the hairline.
This is the difference between "she is wearing blush" and "she has been outside". It costs one extra second. On camera it is the single thing that stops makeup looking applied.
Which formula
Cream on dry skin, on mature skin, and on anyone who wants the more skin-like finish. Fingers are fine — press and roll rather than rubbing, and do it before powder, not after.
Powder on oily skin and for longevity, over a base that has been set. A fluffy brush, always, and considerably less product than the brush wants to pick up.
Liquid and tint for the longest wear and the most flushed result, but they grip fast and are unforgiving, so put it on the back of your hand first and take it to your face from there.
The shade matters far less than people think. Almost anything works if the placement is right and the amount is small. A shade that looks alarming in the pan is usually fine on the face; a shade that looks safe in the pan usually disappears.
Try the high placement for a week. If you hate it, going back down is easy — but nobody I have taught it to has gone back.
Or let me do it
Reading about it is
slower than a lesson.
Two hours at your table, with your own products, and you hold the brush. $350 — and you keep the notes.
Keep reading
More from the journal

What can I use instead of an eye patch? A spoon
A cold spoon, two minutes of tapping, a drugstore caffeine roller and a concealer triangle get a bride most of the way by six a.m. When a patch still wins.
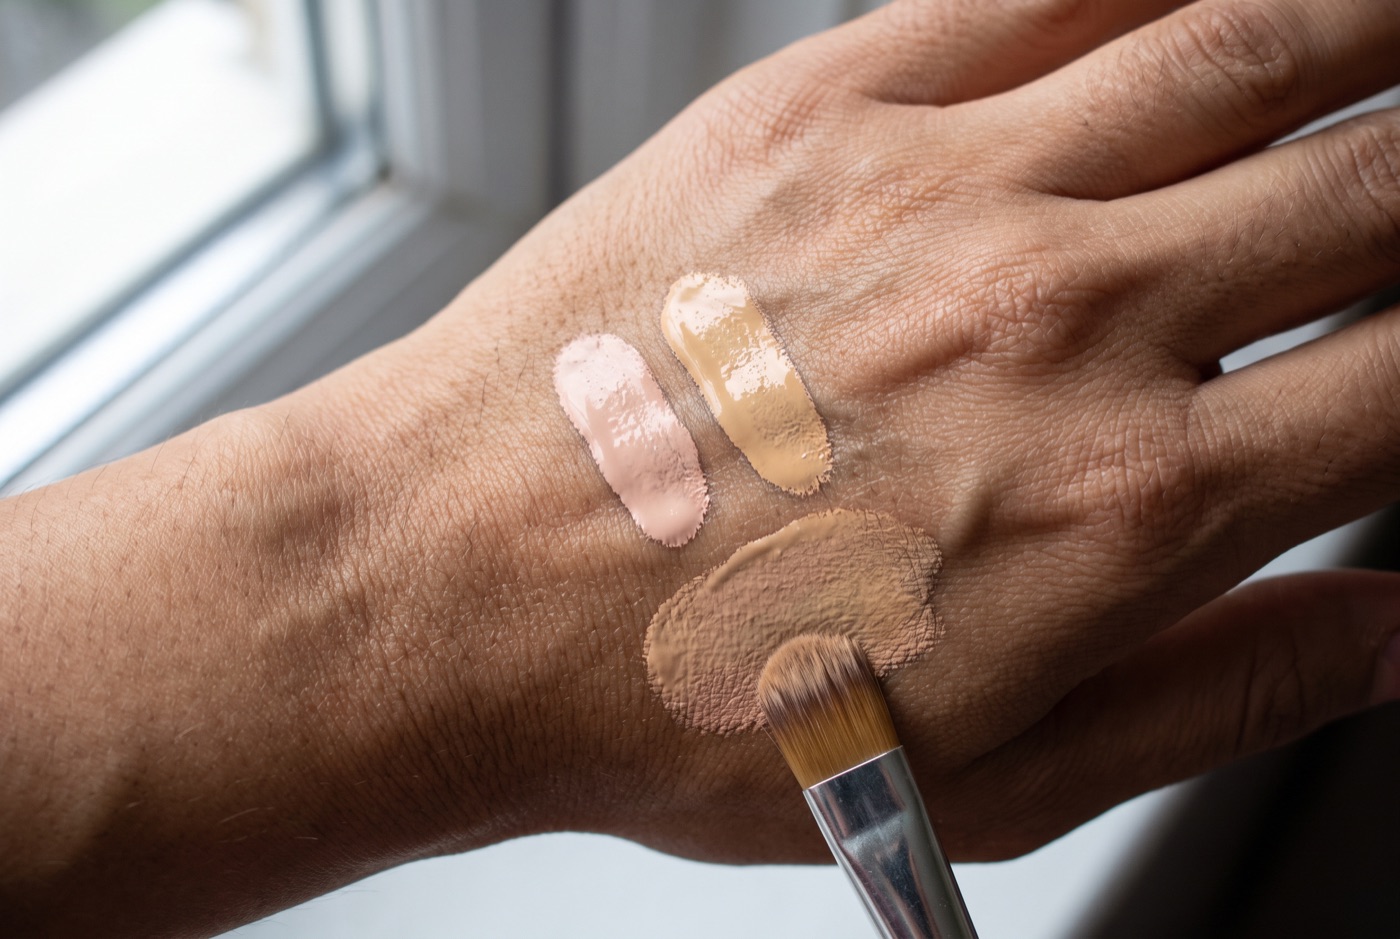
Nobody is one foundation shade, and that is why yours never quite matches
The shade that matches you in October is wrong in July, and the one that matches your cheek is wrong on your jaw. Two bottles, mixed, solves it for good.
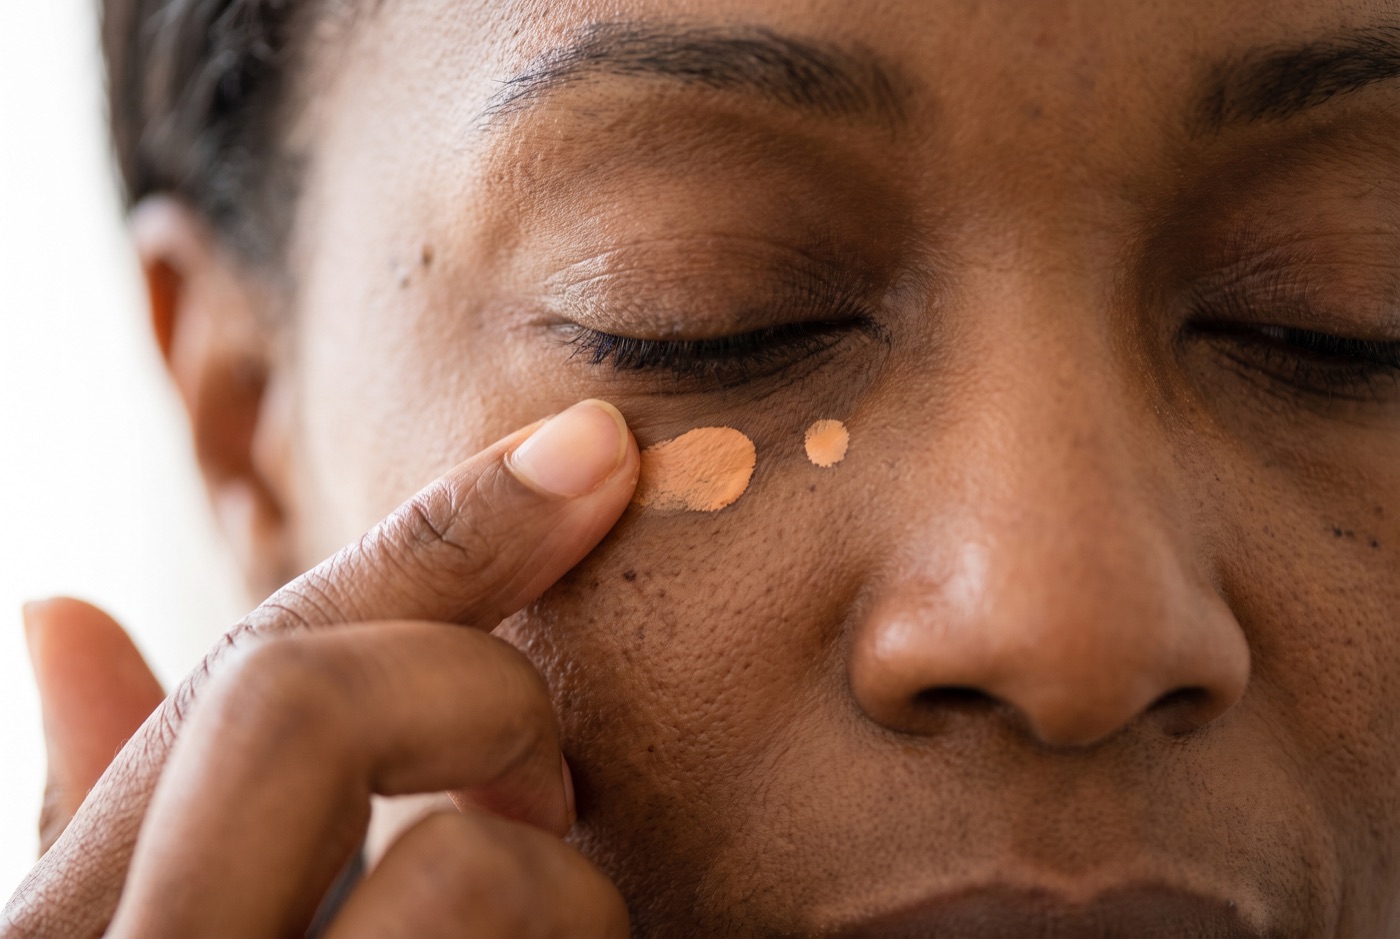
The under-eye that no concealer covers needs peach, not more concealer
Blue-grey shadow is a color problem, and stacking more skin-toned concealer on top of it only turns it ashy. A thin layer of the right peach solves it in one step.